 Bellingham Roofing
 Building New in Columbia? Get the Windows Right the First Time
Columbia is one of Bellingham's older, established neighborhoods, and infill construction here means new homes and additions are going up next to houses that have weathered decades of Pacific Northwest winters. When you're framing a new build, the window package is one of the few decisions that's cheap to get right during construction and expensive to fix afterward. Once siding, trim, and interior finishes are closed up around a window opening, correcting a bad install means tearing into finished work. That's why new-construction windows deserve the same attention as the roof or the foundation, not an afterthought once the framing crew has moved on.
Bellingham Roofing Co. approaches new-construction window installation as an envelope system, not a series of individual product installs. The window unit, the flashing, the weather-resistive barrier, and the siding all have to work together, in the correct sequence, or water will eventually find its way in.
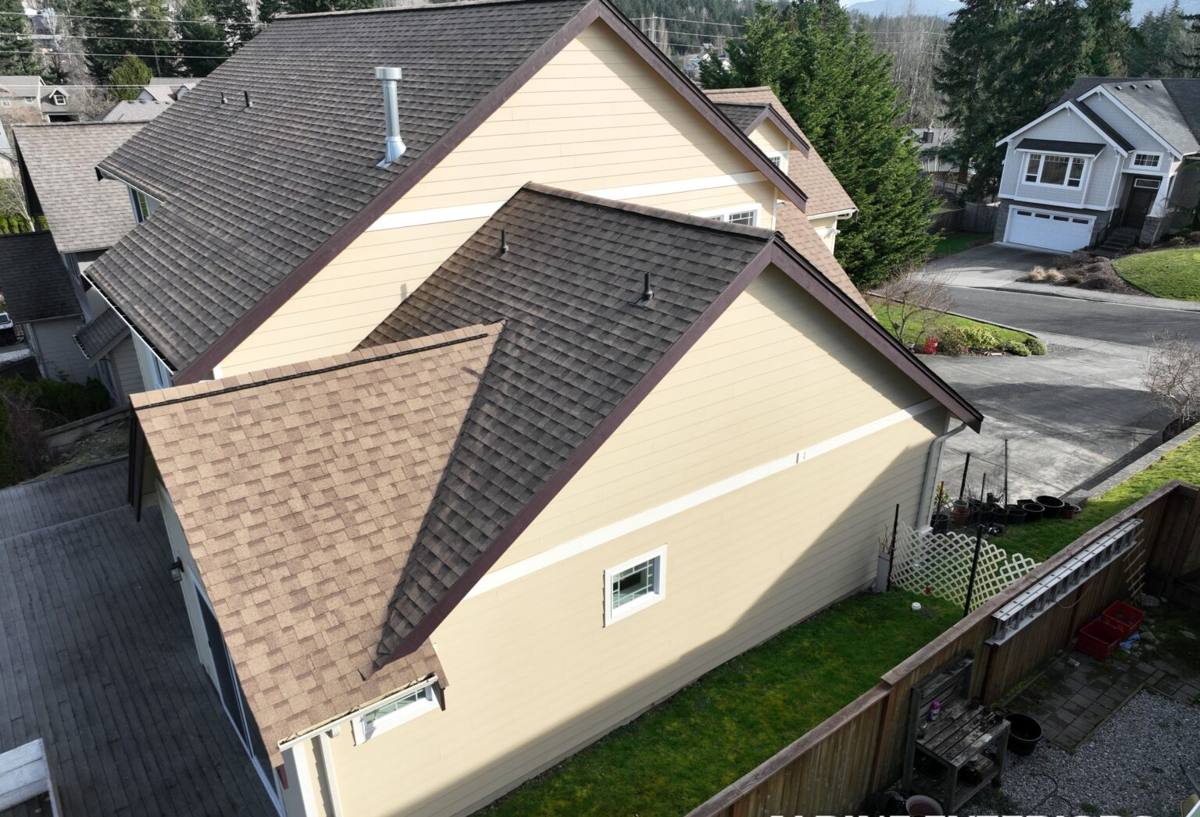
Why Columbia's Climate Changes the Window Job
Whatcom County sits close enough to Bellingham Bay and the Salish Sea that salt-laden air is a real factor for exterior materials, even for homes that aren't waterfront. Add in our long stretch of driving rain from fall through spring, plus the shaded, damp conditions that keep moss and algae active for much of the year, and you have a climate that's genuinely harder on window installations than most parts of the country.
What that means in practice
- Salt air accelerates corrosion on lower-grade fasteners, hinges, and cladding — hardware and flashing choices matter more here than in a dry inland climate.
- Driving rain, especially wind-driven rain against west and south-facing walls, tests window flashing details that a calmer climate might never expose.
- Extended moss and algae season keeps surfaces damp longer, which means any gap in the water-resistive barrier or flashing stays wet longer and does more damage before anyone notices.
None of this means Columbia needs exotic materials. It means the standard details — head flashing, sill pans, proper lapping of building paper or house wrap, and correctly bedded nailing flanges — can't be skipped or rushed, because the margin for error is smaller here than in a milder climate.
What a Correct New-Construction Window Install Actually Involves
"New construction" windows (as opposed to retrofit or pocket replacement windows) have a nailing flange that gets integrated directly into the wall's water-resistive barrier during framing. That integration is the whole job — the window unit itself is almost never the point of failure. Here's the sequence we follow on every opening:
- Rough opening check. Verify the opening is square, plumb, and sized correctly before the window ever shows up on site. A slightly out-of-square opening causes long-term stress on the frame and sash.
- Sill pan flashing. A sloped, sealed pan at the bottom of the opening directs any water that gets past the window back outside the wall assembly, rather than letting it sit on the sill framing.
- Weather-resistive barrier integration. House wrap or building paper is lapped in shingle fashion — bottom to top — so water always sheds outward and downward, never into a seam.
- Window set and fastening. The unit goes in level and plumb, fastened per the manufacturer's schedule, without racking the frame (which can bind sashes or crack glazing seals over time).
- Flange sealing and head flashing. Side and top flanges are sealed and taped, with a head flashing that laps over the wrap above the window, so wind-driven rain is directed around the opening rather than behind it.
- Final inspection before siding. Every opening gets checked before the cladding crew closes it in, because that's the last point anyone can see the flashing details directly.
Skipping or rushing any one of these steps is usually invisible for months or even a year or two — until a wet winter finds the gap.
Window Product Choices: What We Weigh for Columbia Builds
There's no single "best" window brand for every project — the right choice depends on budget, the home's design, and how exposed the walls are to wind-driven rain. What we do insist on is matching the product to the exposure. A window with a marginal flange design or thin cladding might perform fine on a sheltered inland lot and struggle on a wall that takes direct weather off the water.
| Factor | Why It Matters in Columbia |
|---|---|
| Frame material (vinyl, fiberglass, clad-wood) | Fiberglass and quality vinyl resist swelling and warping in sustained damp conditions better than uncoated wood exposed to the elements. |
| Flange and flashing compatibility | Some manufacturers' flange profiles integrate more cleanly with standard WRB flashing tape — fewer improvised details, fewer failure points. |
| Glazing and seal warranty | Look for a documented seal failure warranty; condensation between panes is often the first visible sign of a failing unit in humid climates. |
| Hardware corrosion resistance | Stainless or corrosion-rated hardware holds up better near the bay than standard-grade fasteners. |
| Exposure of the wall | West and south walls catching driving rain warrant a higher-performing flashing detail than a sheltered, covered wall. |
We'll walk through these trade-offs with you before framing locks in the opening sizes, since some products call for slightly different rough openings.
Our Process for Columbia New-Construction Projects
Because Columbia is infill-heavy, our new-construction window jobs here are often additions, tear-down rebuilds, or new primary structures on a lot with an existing older home nearby. That context shapes how we work:
- Coordinate with your framer and siding crew. Window flashing is a sequencing problem as much as a product problem — we work directly with your other trades so nothing gets closed in before it's inspected.
- Site-specific exposure assessment. We look at which walls face prevailing weather off the bay and which are more sheltered, and we don't apply a one-size-fits-all flashing detail across a whole house.
- Manufacturer installation instructions, followed exactly. Window warranties are frequently tied to installation per the manufacturer's written instructions — we document our process so that warranty stays intact if you ever need it.
- Pre-siding walkthrough. Before cladding closes up the openings, we do a walkthrough so you (or your general contractor) can see the flashing details directly, not just take our word for it.
A Practical Pre-Install Checklist for Homeowners and Builders
- Confirm rough opening dimensions match the window schedule before units are ordered.
- Ask which walls will get upgraded flashing details due to weather exposure.
- Get the manufacturer's written installation instructions and keep them with your project file for warranty purposes.
- Schedule a pre-siding inspection point in your build timeline — don't let cladding get ahead of window flashing sign-off.
- Ask about hardware and fastener corrosion ratings if your lot has any bay or water exposure.
Why Hire a Crew That Already Works in Columbia
Window installation done to code will pass a basic inspection. Window installation done for Whatcom County's actual weather is a different standard. A crew that's worked other Columbia and Bellingham projects has already seen how wind-driven rain behaves against specific wall orientations in this neighborhood, and where standard details need extra attention because of local exposure. That experience shows up in the small decisions — how far a head flashing extends, how sill pans are detailed at corners, which sealants hold up through repeated wet-dry cycling — that don't show up on a spec sheet but matter over ten or twenty years of Bellingham winters.
We also carry the liability and workmanship track record that comes with being an established local roofing and exterior contractor, not a crew passing through on a single job. If a warranty question comes up in year eight, we're still here, still local, and still able to look at what we did.
Common Mistakes We See (and Correct) on Infill Builds
A few issues come up repeatedly on new-construction and addition projects in this area, usually from crews unfamiliar with the local climate:
- Reverse-lapped house wrap around window openings, which channels water into the wall instead of away from it.
- Missing or undersized sill pans, leaving bare framing exposed to any water that gets past the window.
- Fasteners driven through the flange at the wrong angle, compressing the seal and creating a leak path that isn't visible until drywall shows staining.
- Head flashing omitted entirely because "the window has its own flange," which isn't sufficient protection against sustained wind-driven rain.
Every one of these is avoidable with correct sequencing and a crew that checks its own work before it's covered up.
Get a Straightforward Estimate for Your Columbia Project
If you're framing a new home, an addition, or a rebuild in Columbia and want the window package planned correctly from the start, we're happy to walk the site, review your window schedule, and give you a clear, no-pressure estimate. Use the form below to get started.