 Bellingham Roofing
 Building New in Barkley? The Windows Are Not a Detail You Fix Later
Barkley has been one of the more active growth areas in Bellingham for years — new homes, townhomes, and infill lots continuing to fill in around the established core. If you're framing a new house or a good-sized addition in this part of town, the windows are one of the few components that get harder and more expensive to correct once the siding, trim, and interior finish are in. New-construction window installation is a framing-stage trade, not a finishing-stage one, and it needs to be done right the first time.
We install new-construction windows on builds in and around Barkley on a regular basis, working alongside general contractors, builders, and the occasional owner-builder. This page is about that one job specifically — what Bellingham's climate asks of a new-construction window install, what "correct" actually looks like at the flashing and rough-opening level, and why it matters to have a crew on the job that already understands how water moves through a wall assembly in Whatcom County.
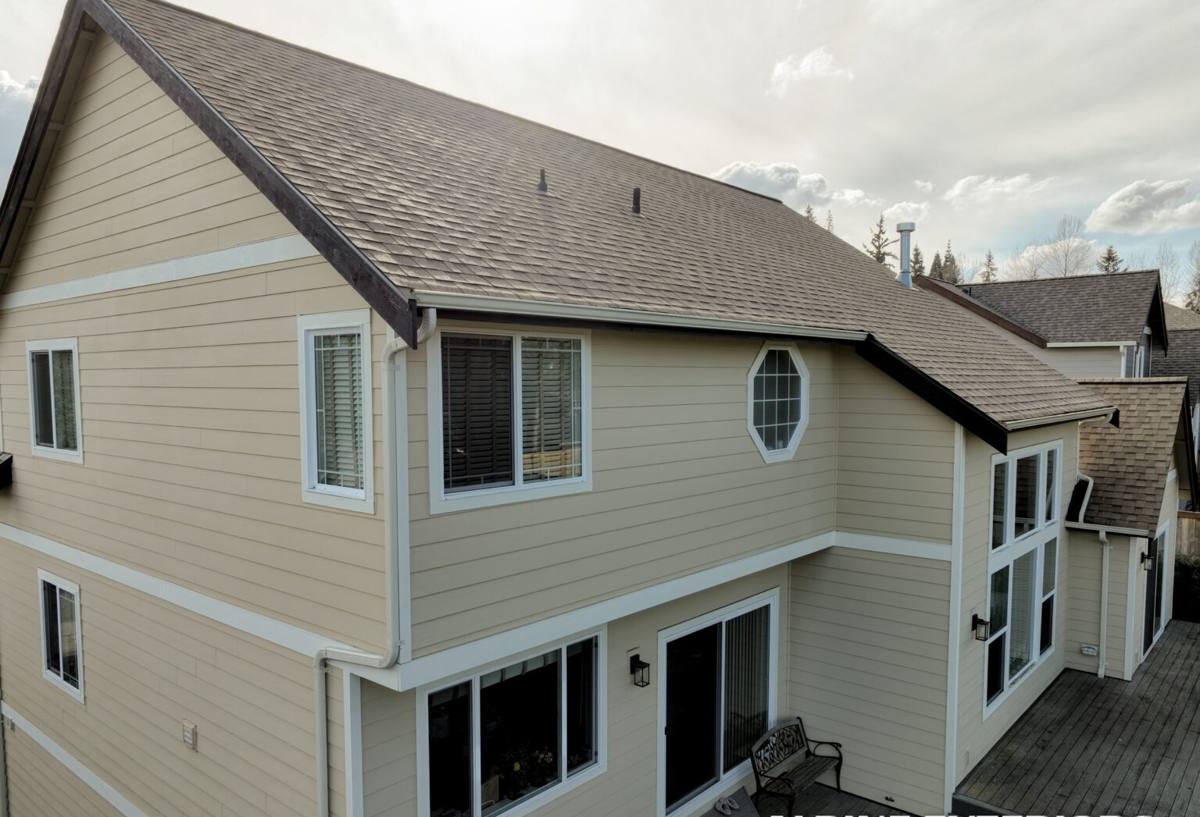
What Bellingham's Climate Actually Demands From a Window Install
Whatcom County sits right on the Salish Sea, and Bellingham Bay is close enough to Barkley that salt-laden air is a real factor on fasteners, flashing metal, and hardware finishes over the life of a building. Add to that a long wet season with plenty of wind-driven rain — the kind that doesn't just fall straight down but gets pushed sideways into a wall — and you have two separate problems a window installer has to solve at once: keeping water out under pressure, and keeping the materials around the window from corroding or breaking down over a 20-, 30-, or 50-year lifespan.
Then there's moss and persistent surface moisture. Our moss season runs long here, and anywhere water is allowed to sit — a poorly sloped sill, a flashing lap installed backwards, a gap in the weather-resistive barrier — becomes a spot where moisture, algae, and eventually rot get a foothold. None of this is exotic engineering. It's just attention to sequence and detail, applied consistently on every opening in the house.
The Three Climate Factors That Actually Change the Job
- Driving rain: requires correct flashing lap order and a sealed, sloped sill pan — not just a bead of caulk at the end.
- Salt air proximity: pushes us toward corrosion-resistant fasteners and flashing metals, and away from hardware that will chalk or pit early.
- Long damp season: means any trapped moisture has months, not days, to do damage — so drainage and a way for incidental water to escape matter more here than in drier climates.
New Construction vs. Replacement — Why the Distinction Matters
New-construction windows have a nailing fin (or flange) around the perimeter that gets fastened directly to the wall sheathing before the weather-resistive barrier and siding go on. Replacement windows, by contrast, are built to fit into an existing finished opening without disturbing the exterior cladding. They're different products installed with different methods, and a new build should always use the new-construction approach — it gives us full access to integrate the window into the wall's water management system from the sheathing outward, rather than working around finishes that are already in place.
The advantage of doing this at the framing stage is access. We can see the rough opening, the sheathing, and the WRB before anything covers them up. That means flashing tape, sill pans, and head flashing can be installed in the correct shingle-lap order — each layer overlapping the one below so water is always directed outward and down, never trapped behind a lap installed backwards.
What a Correct New-Construction Install Involves
Rough Opening and Sill Preparation
Before a window ever goes in, the rough opening needs to be checked for square, level, and correct size — undersized or out-of-square openings cause installers to compensate with excess shims or sealant, which is where long-term leaks start. We install a sloped sill pan at the base of every opening so any water that gets past the window sash has somewhere to go besides sitting on bare sheathing.
Flashing Sequence
The order matters more than the materials. Sill pan first, then the window unit set into it, then jamb flashing up the sides, then head flashing last, lapped over the top of the WRB above the opening. Every layer above laps over the layer below it — never the reverse. This is the single most common point where corners get cut on production builds, and it's the point that determines whether the window leaks in year one or stays dry for decades.
Fastening and Sealing
Nailing fins get fastened per the manufacturer's schedule — enough fasteners, in the right pattern, without overdriving them and distorting the frame. Backer rod and a compatible sealant go at the interior and exterior joints where sealant is called for, sized correctly rather than smeared on as an afterthought. Given our salt air exposure, we pay attention to fastener material so hardware isn't the first thing to fail.
Final Check
Every window gets operated, checked for square and even reveals, and visually inspected for flashing lap and sealant coverage before we move to the next opening. On a full new build this happens dozens of times — consistency across every single opening is what actually prevents the one leak that shows up three winters later.
Choosing the Right Window Product for This Climate
Product choice matters less than installation quality, but it isn't irrelevant. For new construction in Bellingham's marine climate, we generally steer toward frame materials and glazing packages that handle sustained moisture exposure well and don't require aggressive maintenance to look and perform the same in year ten as year one.
| Frame Material | How It Handles Our Climate | Maintenance Consideration |
|---|---|---|
| Vinyl | Good moisture and corrosion resistance; stable in damp conditions | Low maintenance; limited color/finish options |
| Fiberglass | Very stable dimensionally in temperature and moisture swings | Low maintenance; higher upfront cost |
| Wood-clad | Warm interior look; clad exterior protects from direct rain exposure | Requires attention at joints and cladding seams over time |
| Aluminum | Strong and slim sightlines; can be prone to condensation without thermal breaks | Look for a thermally broken profile in our climate |
Whatever frame material a build calls for, we recommend a low-E glazing package with an appropriate gas fill for our climate — it helps with both energy performance and reducing interior condensation during our colder, wetter months, which is a common complaint in homes with lower-grade glass.
Our Process on a Barkley New-Construction Job
- Plan review: we look at window schedules and rough opening sizes before the crew ever shows up, catching sizing mismatches early.
- Rough opening verification: on site, we confirm openings are square, correctly sized, and properly sheathed before install begins.
- Sill pan and flashing installation: sequenced correctly per opening, tied into the home's WRB.
- Window setting and fastening: per manufacturer specification, checked for square and even reveals.
- Sealing and final flashing lap: head flashing and sealant details closed out.
- Walkthrough: every opening checked, operation tested, and documented before we leave the site.
Working With Your Builder or GC
On most new-construction jobs we're one trade among several, coordinating with the framer, the siding crew, and often the general contractor's schedule directly. That means showing up when the wall is ready — sheathed and WRB in place, but before siding closes it in — and communicating clearly if an opening isn't ready or doesn't match plan dimensions, rather than installing around a problem and hoping it works out. We'd rather flag an issue before it's covered up than have it surface as a callback after the siding crew has already finished.
A Practical Checklist for Homeowners and Builders
Whether you're managing your own build or working through a GC, these are reasonable things to confirm about any new-construction window install in this climate:
- Sill pans installed and sloped at every opening, not just the ones facing prevailing weather
- Flashing installed in correct shingle-lap order — sill, then jambs, then head
- Fasteners and hardware rated for coastal/salt-air exposure
- Low-E glazing appropriate for a marine climate, with condensation performance considered
- Every window checked for square and proper operation before the crew leaves
- Installer willing to document flashing details before they're covered by siding
Why a Crew That Already Works Barkley Matters
Barkley's mix of newer builds and infill construction means local crews have already seen the common rough-opening quirks, framing tolerances, and inspection expectations that come up in this part of Bellingham repeatedly. That familiarity shortens the learning curve on your job — we're not guessing at how a particular builder frames openings or what a Whatcom County inspector will want to see at a flashing check, because we've been through it before on similar builds nearby. It also means we're a known, reachable local business if a warranty question comes up down the line, not a crew that worked one job in the area and moved on.
Ready to Talk About Your Build?
If you're framing a new home or addition in Barkley and need a crew that installs new-construction windows correctly from the sheathing out, we're happy to take a look at your plans and rough openings. Reach out for a free, no-pressure estimate using the form below — we'll talk through timing, product options, and how the window install fits into your build schedule.