 Bellingham Roofing
 New-Construction Windows for Birchwood Homes
If you're framing a new home or an addition in the Birchwood area, the windows you choose and how they're installed will matter more than almost any other exterior decision you make. Birchwood sits within Bellingham's marine climate zone, which means the building envelope has to handle salt-laden air off the Sound, long stretches of driving rain, and the kind of persistent damp that grows moss on anything that holds moisture too long. New-construction windows give you one real advantage over a retrofit: the chance to get the flashing and water management right from the studs out, before siding or trim ever goes on. That's the whole point of this page — what correct new-construction window work looks like in this specific setting, and why it's worth doing carefully the first time.
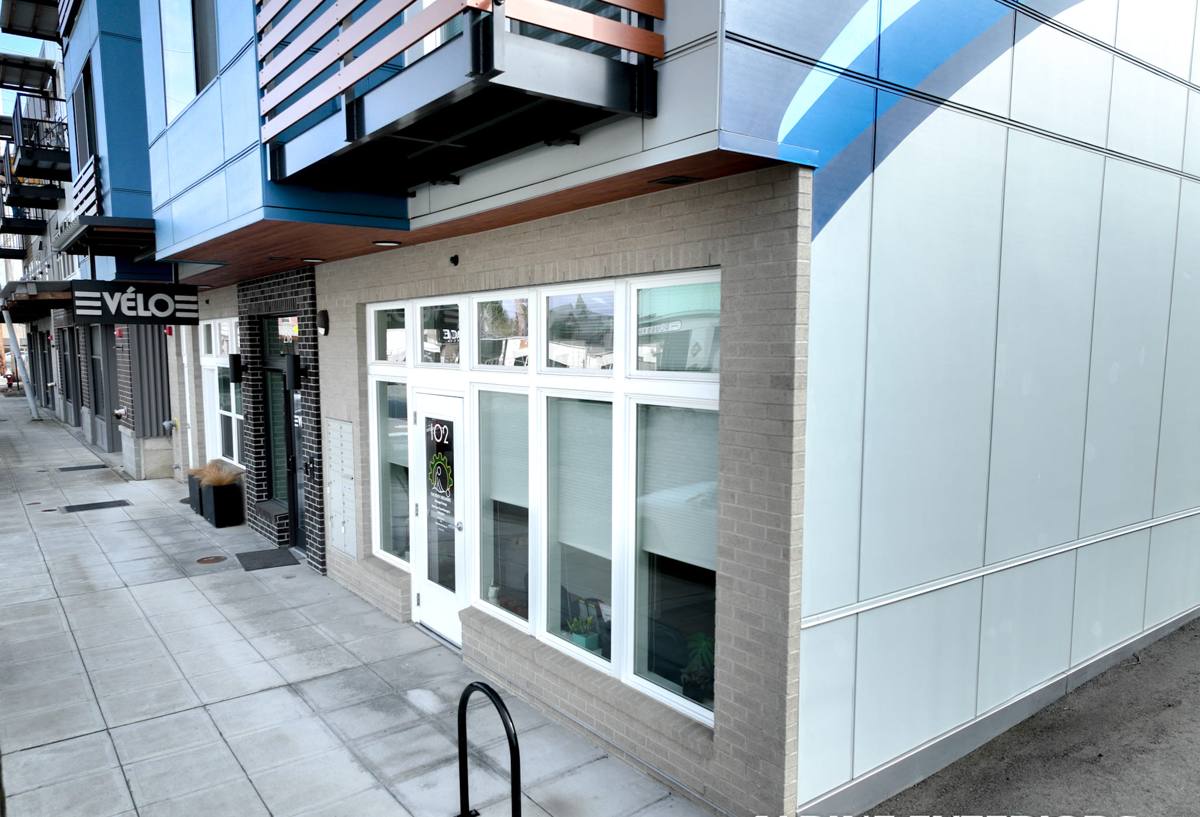
What "New-Construction" Windows Actually Means
New-construction windows have a nailing flange built into the frame. That flange gets integrated directly into the wall's weather-resistive barrier (housewrap or building paper) during framing, before exterior finishes go on. This is different from a replacement or retrofit window, which is designed to fit into an existing rough opening without disturbing the surrounding wall — a "flush fin" or "pocket" approach that trades some water-management flexibility for a cleaner retrofit.
For new builds and additions in Birchwood, flanged new-construction windows are almost always the right call. They let us build a proper drainage plane around every opening, lapping each layer so water moving down the wall is directed out and away from the window, never into the framing. Done right, this is the single biggest factor in whether a window still performs well in fifteen or twenty years of Bellingham weather.
Why This Matters More Here Than in Drier Climates
In a dry inland climate, a mediocre flashing detail might go unnoticed for years. In Whatcom County, wind-driven rain off the Sound and a rainy season that can stretch for months will find any gap in the water management within a season or two. Add the salt content in coastal air, which accelerates corrosion on unprotected fasteners and lower-grade hardware, and you can see why the install detail matters as much as the window unit itself.
What Correct Installation Involves
A proper new-construction window install in this climate follows a specific sequence. Skipping or shortcutting any step is where problems start, usually invisibly, behind the finished wall.
- Rough opening is checked for square, level, and correct dimensions before the window ever arrives on site
- Sill pan flashing is installed first, sloped to drain outward, so any water that gets past the window has somewhere to go
- Weather-resistive barrier is cut and integrated in the correct shingle-lap order — sides first, then top, then head flashing last, always lapping over what's below
- Window is set plumb, level, and square, then fastened through the flange per the manufacturer's schedule
- Flange is sealed and taped using a compatible flashing tape — not just caulk — at the sides and head
- Head flashing is installed to divert water around and past the window, not just sealed shut
- Interior shimming and insulation around the frame are checked before drywall closes up the opening
Every one of those steps is inspectable at the time of install but hidden forever once siding goes up. That's why we treat the framing-stage window work as its own inspection point on every job, not something to rush through to get to the finish work.
Frame Material and Glass Package Choices
Birchwood homeowners building new usually ask us to compare vinyl, fiberglass, and wood-clad options. There's no single right answer — it depends on budget, maintenance appetite, and how much you want to lean into the coastal exposure.
| Frame Material | Coastal/Salt-Air Behavior | Maintenance | Typical Cost Position |
|---|---|---|---|
| Vinyl | Won't corrode; UV and moisture stable when quality-graded | Low — occasional cleaning | Most economical |
| Fiberglass | Very stable dimensionally, holds up well to damp and salt exposure | Low | Mid to upper-mid |
| Wood-clad | Exterior cladding protects the wood, but any breach in the cladding or seal invites rot in a wet climate | Higher — seals and cladding need periodic attention | Highest |
For glass, we generally recommend a dual-pane, low-E package as the baseline for this area — it manages both the heat loss on cold, wet winter days and some solar gain in summer without overdoing it. Argon fill is a reasonable upgrade; it's not a dramatic difference in this climate but it's inexpensive insurance. We're honest with clients about wood-clad windows in particular: they can look excellent, but they carry a maintenance obligation that shows up faster here than in a drier region, and we make sure that trade-off is understood before anyone commits to them.
Moss, Algae, and Long-Term Exterior Performance
Moss doesn't grow on the glass, but it does grow on sills, trim, and anywhere water sits instead of draining. Part of doing new-construction windows correctly is making sure the sill and trim details shed water instead of holding it — proper slope on sill pans, correct trim standoff, and drip caps or head flashing that actually throws water clear of the wall below. A window installed without those details will start showing staining, moss, and eventually softening trim years before it should, and by then the fix is a repair job instead of a five-minute head start during framing.
Our Process on Birchwood Jobs
On new-construction and addition work in this area, our process is straightforward and doesn't change based on how busy the schedule is:
- Walk the framing with the builder or homeowner and confirm rough openings against the window order before anything ships
- Verify window specs (sizes, glass package, hardware finish) against the plans, since correcting an order after installation starts costs everyone time
- Install sill pans, integrate the weather barrier in proper lap sequence, and set each window plumb and square
- Tape and seal flanges, install head flashing, and photograph each opening before it's covered by siding
- Final walkthrough on operation, hardware, and sealant lines once trim and siding are complete
We work with builders and general contractors on new builds regularly, and we're comfortable coordinating around a framing schedule rather than working in isolation. Because we already do window work throughout Bellingham and Whatcom County, we know what inspectors here typically look for at the water-resistive barrier stage, which helps keep the framing inspection moving instead of triggering a callback.
Mistakes We Watch For
Most window problems we get called out to fix in this region trace back to one of a small number of installation shortcuts: flange taped without a sill pan underneath, weather barrier lapped in the wrong order (water running behind the tape instead of over it), missing or undersized head flashing, or fasteners that aren't rated for coastal exposure and start corroding within a few years. None of these are visible once the wall is finished, which is exactly why we treat the rough-opening stage as non-negotiable on every job, not just the ones where someone happens to be watching.
Checklist Before You Sign Off on Window Rough-In
- Sill pan flashing installed and sloped to drain outward, not flat or reverse-sloped
- Weather-resistive barrier lapped correctly — sides, then top, then head flashing overlapping all of it
- Flange fully sealed with compatible tape at sides and head, not caulk alone
- Fasteners rated for coastal/corrosive exposure, not standard interior-grade hardware
- Head flashing or drip cap present and extending past the trim edge
- Photos taken of each opening before siding or exterior finish covers the work
If a contractor can't answer yes to each of these on a Birchwood job, it's worth asking why before the wall gets closed up.
Why a Crew That Already Works Birchwood Matters
Window performance in new construction comes down to details that are invisible once the job is done, which means the contractor's habits matter more than any single product spec. A crew that regularly works Bellingham and Whatcom County builds already knows how this area's rain patterns, salt exposure, and moss season punish shortcuts — and has adjusted its process accordingly, rather than applying a generic install method that might be fine somewhere drier. That local pattern recognition is hard to fake and even harder to get from a crew that only occasionally works this coastline.
If you're planning new construction or an addition in the Birchwood area and want windows installed the right way from the framing stage forward, we're happy to walk the site, review your plans, and put together a straightforward, no-pressure estimate using the form below.