 Bellingham Roofing
 Birch Bay's Waterfront Climate Puts Real Demands on Vertical Siding
Board and batten has become one of the most requested looks for homes along Birch Bay's shoreline, and it's easy to see why — the clean vertical lines suit both older beach cottages and newer builds, and it reads as more custom than standard horizontal lap siding. But Birch Bay isn't a climate-neutral place to hang siding. It sits directly on Puget Sound, which means homes here take on salt-laden air, wind-driven rain coming off the water, and a moss and mildew season that runs longer than it does even a few miles inland in Bellingham.
That combination matters more for board and batten than for almost any other siding style, because the batten strips create dozens of extra vertical seams and shadow lines running down the wall. Every one of those seams is a place where wind-driven rain can be pushed sideways instead of falling straight down, and every batten is a place where moisture can get trapped against the wall if the assembly wasn't built with drainage in mind. In a drier inland climate, sloppy board and batten installation might go unnoticed for years. On a Birch Bay waterfront lot, the same shortcuts show up much faster — as streaking, soft trim, or moss creeping up from the bottom courses.
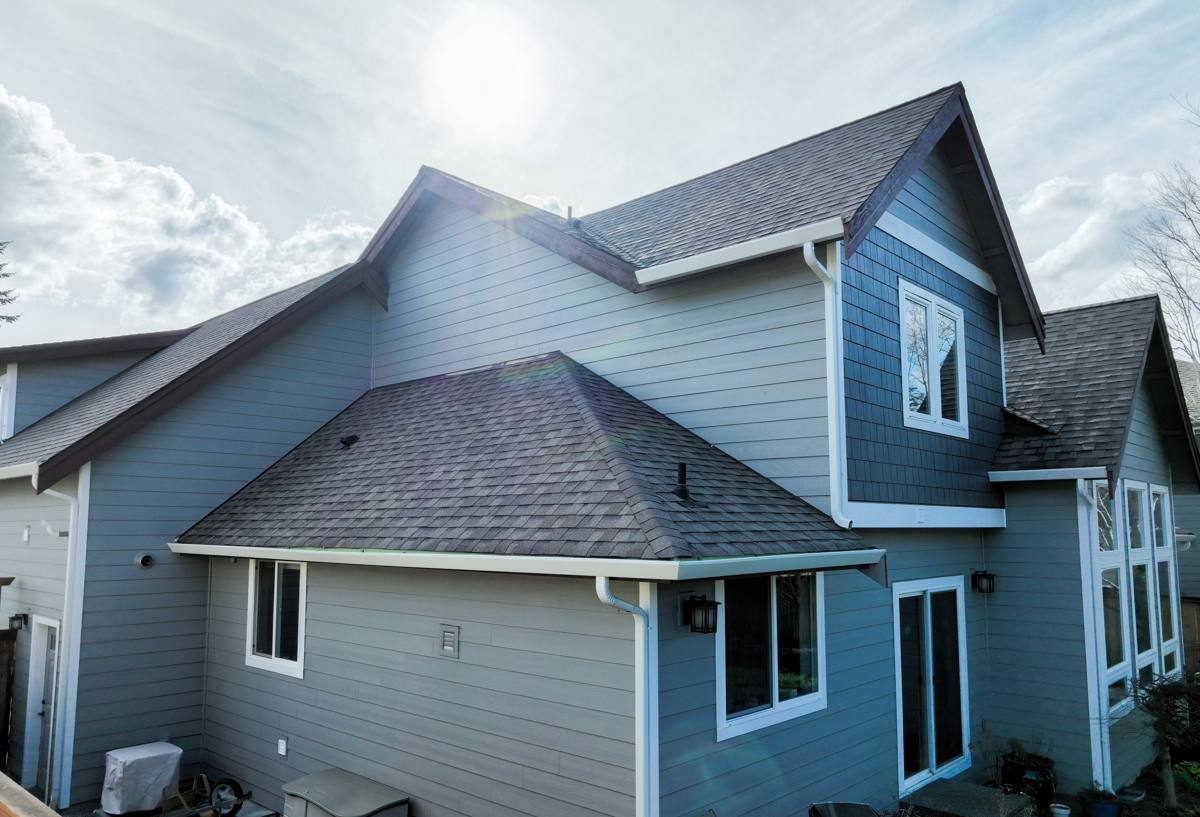
What Board & Batten Actually Is — And Why the Assembly Matters More Than the Look
Board and batten is a vertical siding pattern: wide flat panels or boards installed vertically, with a narrower strip (the batten) covering each seam between them. The visual result is a rhythm of raised lines running up the wall. That's the easy part to picture. What homeowners don't always see is that everything that makes board and batten hold up long-term happens behind the boards, not on the surface.
The parts that actually determine whether it lasts
- The drainage plane and water-resistive barrier behind the panels
- Whether there's an air gap (rainscreen) between the siding and the sheathing, or the panels are nailed flat against the wall
- How the panel-to-batten and panel-to-panel joints are fastened and sealed
- Flashing at every horizontal interruption — window heads, trim boards, roof-to-wall intersections
- The material itself, and whether it's engineered to handle repeated wetting and drying
Skip any one of those, and the siding can look correct for a season or two before problems start showing up where you can't see them — at the bottom plate, around window returns, or behind the battens themselves.
The James Hardie System We Install for Board & Batten
We install James Hardie fiber cement exclusively, and for board and batten that means HardiePanel vertical siding paired with HardieTrim battens, finished in a factory-applied ColorPlus finish. We don't offer this look in vinyl, LP SmartSide, primed spruce, or cedar boards, and that's a deliberate standard, not an oversight.
Why fiber cement specifically, in this location
Board and batten built from wood-based products — whether that's real cedar boards or engineered wood panels like LP SmartSide — depends on the wood staying properly sealed and dry at every cut edge and seam. On a shoreline lot with persistent moisture and salt exposure, that's a maintenance commitment that has to be kept up indefinitely, because once a wood-based product starts absorbing water at an exposed edge, it doesn't stop on its own. Vinyl board and batten avoids that specific failure mode but introduces its own: it's a thin material that expands and contracts significantly with temperature swings, and in high-wind coastal exposure it's more prone to rattling, warping, or pulling loose at fasteners over time.
James Hardie fiber cement is cement, sand, and cellulose fiber — it doesn't rot, it isn't a food source for the moss and mildew that thrive in this climate, and it's non-combustible. James Hardie's HZ5 product line is engineered for the freeze-thaw and moisture cycles of the Pacific Northwest specifically, and the ColorPlus finish is baked on at the factory under controlled conditions, which gives it better fade and wear resistance than field-applied paint — something that matters when a wall is facing directly into salt spray and sun off the water.
What the finished system includes
| Component | Role |
|---|---|
| HardiePanel vertical siding | The flat field panel, engineered for vertical installation |
| HardieTrim battens | Cover the panel seams, create the board-and-batten reveal |
| ColorPlus factory finish | Baked-on color and finish, done before the material reaches the site |
| Water-resistive barrier + rainscreen furring | Manages any moisture that gets behind the siding and lets the wall dry |
| Corrosion-resistant fasteners and flashing | Keeps water out at every seam, window, and trim intersection |
Getting the Installation Details Right: Rainscreen, Flashing, Fastening
Most board and batten problems we get called out to inspect on existing homes trace back to the assembly behind the boards, not the boards themselves. In a climate like this one, we treat a few details as non-negotiable rather than optional upgrades.
Rainscreen gap
We install vertical furring strips behind the panels wherever the wall assembly calls for it, creating a continuous air gap between the back of the siding and the water-resistive barrier. That gap lets any moisture that does get past the outer surface drain and evaporate instead of sitting against the sheathing. On a wall exposed to sustained wind-driven rain off the water, that gap is what separates a wall that dries out after a storm from one that stays damp for days.
Batten fastening and seams
Battens have to be fastened into structural framing, not just into the panel below, and every vertical seam needs the right combination of overlap, sealant, and fastener placement to keep wind-driven rain from working its way sideways under the batten edge.
Flashing at penetrations
Every window, hose bib, vent, and trim intersection is a place where the siding plane gets interrupted, and each one needs its own flashing detail so water sheds outward instead of behind the panel. This is the step that's invisible once the job is finished and the first place shortcuts show up years later.
Clearances at grade and roof lines
Bottom courses need proper clearance from grade, decks, and roof surfaces so splashback and standing moisture don't sit against the siding's lowest edge — a common moss and staining starting point on shaded, low-clearance walls near the water.
Our Process, Start to Finish
- On-site assessment — we look at your existing wall assembly, current siding condition, sun and wind exposure, and any moisture history before we quote anything.
- Written estimate — a clear scope covering tear-off (if applicable), rainscreen assembly, panel and batten layout, trim, and color, with no vague allowances.
- Prep and moisture check — sheathing gets inspected once old siding is removed, and any damaged material is addressed before new siding goes up, not covered over.
- Water-resistive barrier and rainscreen installation — the drainage plane goes in correctly before a single panel is hung.
- Panel and batten installation — laid out to keep reveals consistent and seams landing on framing.
- Trim, flashing, and caulking — every window, corner, and penetration detailed individually.
- Final walkthrough — we go over the finished wall with you before calling the job complete.
What Maintenance Looks Like Afterward
One of the practical advantages of James Hardie board and batten in a climate like Birch Bay's is how little ongoing maintenance it asks for compared to wood-based alternatives. There's no repainting cycle to keep ahead of, and the material itself doesn't feed the moss and mildew growth that this region's long wet season encourages. That said, no siding is maintenance-free on a waterfront lot.
- Rinse salt residue off exterior walls periodically, especially on sides facing the water directly
- Keep gutters and downspouts clear so runoff doesn't sheet down the wall face
- Trim back vegetation and keep grade clearance so bottom courses can dry after rain
- Check caulking at trim and window intersections every year or two and have it renewed if it's cracking
- Have a look at battens and corner trim after major windstorms, which this area sees regularly off the Sound
Why Hiring a Crew That Already Works Birch Bay Matters
Board and batten forgives almost nothing when the underlying assembly is wrong, and a crew that mostly works drier, more sheltered neighborhoods inland doesn't always build in the rainscreen gap, flashing redundancy, and fastening discipline that a direct waterfront exposure demands — because most of the homes they work on don't need it. A crew that regularly works Birch Bay and the rest of the Whatcom County shoreline has already seen what wind-driven rain and salt exposure do to siding assemblies that were built for a calmer site, and builds accordingly from the start rather than learning it from a callback.
That local pattern recognition is also why we standardized on one siding system instead of installing whatever a homeowner asks for. We'd rather do one product exceptionally well, to a spec that holds up on a Puget Sound shoreline, than spread our attention across several products with different moisture behaviors and installation requirements.
A Quick Checklist Before You Hire Anyone for This Job
- Ask specifically whether a rainscreen gap is included, not assumed
- Ask how flashing will be handled at every window and trim intersection
- Get the batten fastening pattern and spacing in writing, not verbally
- Ask what happens to your existing sheathing if it's found to be damaged during tear-off
- Confirm the manufacturer, product line, and finish by name on the estimate — not just "fiber cement" or "board and batten"
- Ask how many similar waterfront jobs the crew has done in Birch Bay or comparable shoreline areas
If your home is due for new siding or you're planning a board and batten update in Birch Bay, we're happy to take a look and put together a straightforward, no-pressure estimate — just fill out the form below to get started.