 Bellingham Roofing
 Why Birch Bay Windows Wear Differently
Birch Bay sits right on the water, and that changes what a window has to survive. Homes here deal with salt-laden air coming off the bay, wind-driven rain that hits siding and window openings sideways instead of straight down, and a long, damp moss season that keeps everything around the house wet for months at a time. None of that is dramatic on any single day, but it adds up. Seals fail early. Aluminum and steel hardware corrodes faster than it would a few miles inland. Wood trim around openings stays damp longer, which invites rot if the flashing underneath isn't doing its job.
We install windows across Whatcom County, and Birch Bay is one of the areas where we see the clearest gap between a window that was "put in" and one that was actually installed correctly for the site. The window unit itself matters, but in this climate, the flashing, sealing, and drainage details around it matter just as much — sometimes more.
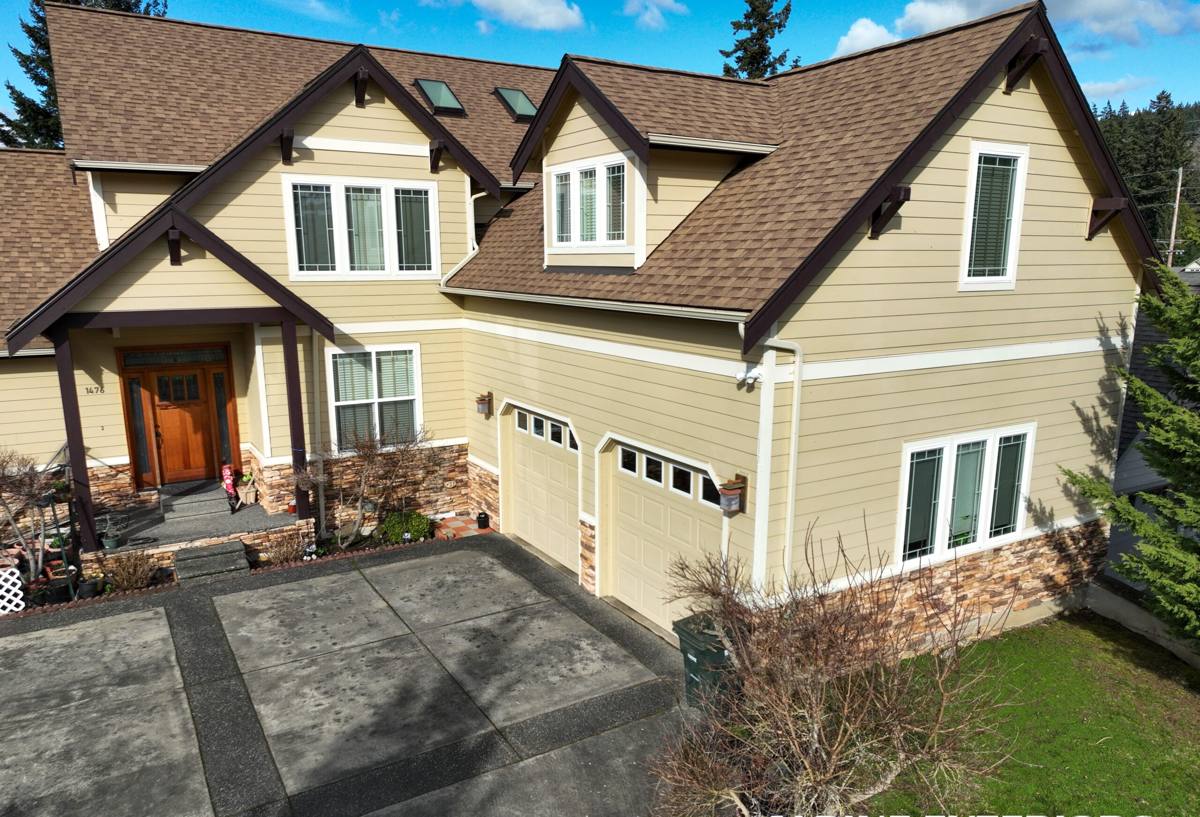
Signs Your Current Windows Are Losing the Fight
Coastal exposure doesn't usually announce itself with a sudden failure. It shows up gradually, and homeowners often adjust to it without realizing something is wrong. Watch for these signs, especially on walls that face the water or catch the prevailing wind:
- Fogging or moisture between panes of double-glazed glass — a sign the seal has failed
- Soft or discolored wood trim, sills, or siding directly around the window frame
- Drafts you can feel with a hand near the frame on a windy day
- Difficulty opening, closing, or locking a window that used to operate smoothly
- Visible corrosion or chalky white buildup on metal hardware or frames
- Green or black growth on the frame or nearby trim that keeps coming back after cleaning
- Paint or finish peeling in a way that's concentrated around window openings rather than the wall generally
Any one of these on its own might just mean routine maintenance. Several together, especially on a wall exposed to weather off the bay, usually means water is getting past the window or its flashing and it's time for a closer look.
What a Correct Installation Actually Involves
It's Not Just the Window Unit
A window is only as good as the opening it sits in. In a low-exposure inland location, a mediocre installation might go unnoticed for years. In Birch Bay, driving rain finds every gap, and a sloppy install shows its problems much sooner. Correct installation means treating the rough opening, not just the window, as the job.
The Details That Matter Here
For coastal Whatcom County homes, we pay particular attention to:
- Flashing sequence — sill pan flashing installed first so any water that does get past the window drains back outside rather than into the wall cavity, followed by jamb and head flashing lapped correctly, shingle-style, so water always sheds downward and outward
- Weather-resistive barrier integration — the housewrap or building paper has to be properly lapped with the window flashing, not just taped over it, so the whole assembly works as one drainage system
- Sealant selection — using sealants and backer rod rated for the movement and moisture exposure of a coastal site, not whatever is cheapest at the counter
- Fastener and hardware corrosion resistance — appropriate materials for a salt-air environment so hardware isn't the first thing to fail
- Proper shimming and leveling — a window that's out of square puts uneven stress on seals and hardware, which shortens its working life regardless of how good the unit is
Skip any one of these and the window may look fine for a year or two before problems start showing up inside the wall, where they're expensive to find and fix.
Choosing the Right Window Frame Material for a Bay-Facing Home
There's no single "best" window material for every home — it depends on exposure, budget, and how much upkeep you want to take on. Here's how the common options compare for a coastal Whatcom County setting:
| Frame Material | Coastal Performance | Maintenance | Typical Trade-Off |
|---|---|---|---|
| Vinyl | Good — won't rust or rot, handles moisture well | Low — occasional cleaning | Limited color/finish options; can expand and contract with temperature swings |
| Fiberglass | Very good — dimensionally stable, resists corrosion | Low | Higher upfront cost than vinyl |
| Aluminum | Fair — prone to corrosion and pitting in salt air over time unless marine-grade and well-finished | Moderate to high near the water | Slim sightlines, but not our first recommendation for direct bay exposure |
| Wood / Wood-clad | Fair to good depending on cladding — exposed wood needs consistent upkeep in this climate | Higher — finish and seals need regular attention | Best appearance for some home styles, but more ongoing commitment |
We're honest about this with every homeowner: a wood-frame window can look beautiful, but on a wall that takes direct salt spray and driving rain, it asks a lot of the finish and the caulking to keep performing year after year. That's not a knock on wood — it's a maintenance and moisture reality we'd rather explain up front than have you discover later. Vinyl and fiberglass tend to be the lower-maintenance, more forgiving choices for the most exposed sides of a Birch Bay home, while wood can still make sense on protected elevations.
Our Installation Process
The steps are consistent whether it's one window or a whole house, but the amount of care we put into flashing and sealing scales up on exposed walls.
- On-site assessment — we look at exposure direction, existing damage, and the condition of the framing and sheathing around each opening before quoting anything
- Careful removal — old windows come out without unnecessary damage to surrounding siding or trim, and we check for hidden rot or moisture damage while the opening is exposed
- Opening prep and repair — any soft framing or compromised sheathing gets addressed before a new window ever goes in; installing a new window into a damaged opening just hides a problem instead of fixing it
- Sill pan and flashing installation — built and layered to shed water outward, following manufacturer instructions and sound building practice for the exposure level
- Window installation and leveling — set square, plumb, and level, shimmed properly so the frame isn't under stress
- Sealing and insulation — appropriate low-expansion foam or insulation around the frame, plus exterior sealant sized and rated for coastal movement and moisture
- Interior and exterior trim-out — finished to match the home, with attention to keeping water managed at every joint
- Final check — operation, locks, and weatherproofing confirmed before we consider the job done
Why Local Experience in Birch Bay Matters
Window installation isn't identical everywhere in Whatcom County. A crew that mostly works sheltered inland neighborhoods doesn't necessarily think about sill pan flashing or corrosion-resistant fasteners the same way a crew that regularly works bay-facing homes does — because they don't have to. We work this coastline regularly, so we already know which walls in Birch Bay tend to take the worst of the wind and rain, what kind of moss and moisture buildup to expect on north- and west-facing sides, and which installation details are worth the extra time versus which ones are optional inland but not optional here.
That local pattern recognition shows up in small decisions — where we add extra flashing lap, which sealants we trust for this exposure, how we sequence a job around weather — that don't show up on a spec sheet but do show up in how the window performs five and ten years down the road.
Cost Factors Homeowners Should Know
We don't publish fixed prices because every home and opening is different, but the main factors that drive cost for Birch Bay window projects are:
| Factor | Why It Matters |
|---|---|
| Frame material | Vinyl is typically the most budget-friendly; fiberglass and wood-clad cost more upfront |
| Window size and type | Standard double-hung windows are simpler than large picture windows or custom shapes |
| Existing damage | Rotted framing or sheathing found during removal adds repair work before installation can proceed |
| Exposure level | Direct bay-facing openings may warrant upgraded flashing and sealant details |
| Number of openings | Whole-house projects typically bring a better per-window cost than single replacements |
| Access and site conditions | Second-story or hard-to-reach windows can add labor time |
The honest answer to "what will this cost" almost always requires a look at the actual openings, which is why we walk the property before giving a real number rather than a rough guess over the phone.
Maintaining New Windows in a Salt-Air, Moss-Season Climate
Even a correctly installed window benefits from a little seasonal attention in this environment:
- Rinse salt residue off frames and glass periodically, especially after storms with onshore wind
- Keep weep holes (small drainage openings at the base of the frame) clear of debris and moss so water can drain out
- Check exterior caulking annually and touch up any cracked or separated sections before the wet season sets in
- Clear gutters and nearby vegetation so runoff isn't draining directly onto window openings
- Operate locks and hardware a few times a year even on windows you don't open often, to keep mechanisms from seizing
None of this takes long, and it goes a long way toward getting the full service life out of a window investment on a coastal lot.
Get an Honest Look at Your Windows
If your windows are original to the house, showing fog or drafts, or you're just planning ahead for a coastal-facing wall that's taken a beating, we're glad to come take a look. We'll give you a straight assessment of what's going on, what your material options are, and a real, no-pressure estimate based on your actual home — not a generic quote. The form below is the easiest way to get started.