 Bellingham Roofing
 New-Construction Windows Built for York's Climate
Homes in the York neighborhood sit close enough to Bellingham Bay and the surrounding Whatcom County waterways that salt-laden air, wind-driven rain, and long stretches of damp, low-sun weather are just part of owning a house here. When a window goes into a wall for the first time — new build, addition, or a bump-out — how it's flashed and sealed into that wall matters more than almost anything else about the project. Get it right and the window disappears into the building envelope for decades. Get it wrong and you're chasing rot, staining, or soft framing behind the trim a few years later.
This page is about one job done one way in one place: new-construction window installation for York homes, built around what this specific climate does to a building over time.
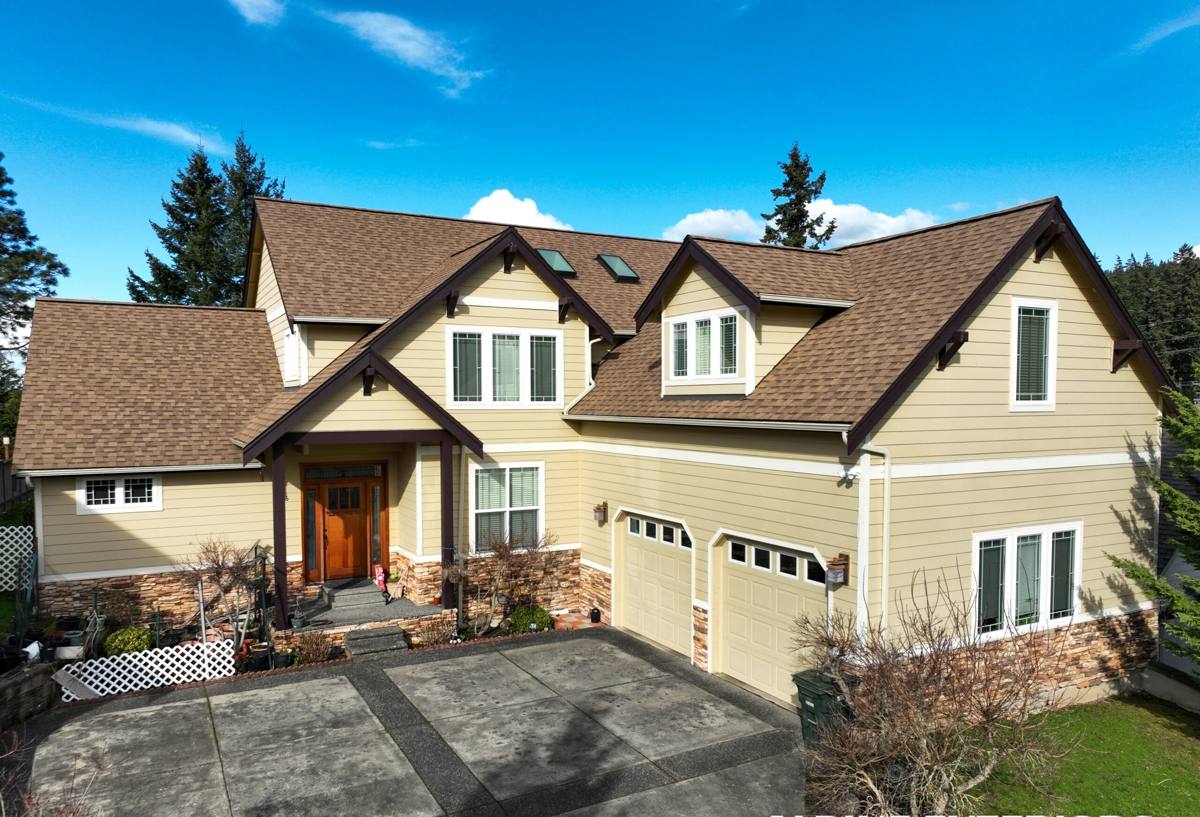
New-Construction Windows vs. Replacement Windows
These are two different trades, even though both involve putting glass in a wall. It's worth understanding the difference before you talk to any contractor.
New-Construction (Nail-Fin) Windows
These windows have a flat flange around the perimeter that gets fastened directly to the wall sheathing, before the weather-resistive barrier (housewrap or building paper) and siding go on. Installation happens from the outside, with full access to the rough opening, the sheathing, and the framing. This is the standard approach for new builds and additions, and it's what we're covering here.
Replacement (Insert) Windows
These go into an existing frame with the old sash removed and the original exterior trim left in place. It's a different skill set, different flashing detail, and a different set of trade-offs — not what this page is about, and not the right method for a wall that's still open.
The reason this distinction matters in York specifically: a new-construction window done wrong gets covered up by siding before anyone notices, and the flashing mistake stays hidden until water finds a way in — sometimes years later.
What a Correct Installation Actually Involves
New-construction window installation looks simple from the outside — set the window, nail the flange, move on. Done correctly, it's a sequenced, layered system where each material sheds water onto the one below it, all the way down to the sill.
The Flashing Sequence
- Sill pan flashing — a sloped, sealed pan under the rough opening that catches any water that gets past the window and directs it back outside, not into the wall cavity.
- Jamb flashing — self-adhered flashing tape up both sides of the opening, lapped correctly over the sill pan.
- Window installation — set plumb, level, and square in the opening, shimmed at the right load points, fastened per the manufacturer's schedule.
- Head flashing — flashing tape and, in most cases, a metal drip cap above the window to break the water's path before it reaches the top of the frame.
- Weather-resistive barrier integration — the housewrap laps over the head flashing and tucks behind the jamb flashing, so water draining down the wall face is directed around the window, never into it.
Every lap in this sequence has to run water downhill onto the layer below — shingle-style, like fish scales. One flashing strip installed upside down or one course of housewrap tucked the wrong way, and the whole sequence stops working, even though it looks fine once the trim goes on.
Sealing and Insulating the Gap
The gap between the rough framing and the window frame needs to be filled with a low-expansion, window-rated foam or backer rod — never a rigid, high-expansion foam that can bow the frame and cause the sash to bind. Sealant lines on the interior and exterior use different products for a reason: the exterior line sheds bulk water, while the interior line controls air leakage and condensation. Mixing that up, or skipping the interior seal because "it's covered by trim anyway," is a common shortcut that shows up later as drafts or fogged glass.
Frame and Glazing Choices for a Marine Climate
There's no single "best" window material — there's a best fit for how exposed the wall is, how much upkeep the homeowner wants to do, and the budget. Here's how the common choices stack up for a coastal Whatcom County wall:
| Frame Material | How It Handles Salt Air & Rain | Maintenance | Typical Fit |
|---|---|---|---|
| Vinyl | Won't corrode or rot; performs well in coastal air | Low — occasional cleaning | Most new-construction homes, budget-conscious builds |
| Fiberglass | Very stable in temperature swings and damp conditions; strong resistance to warping | Low | Larger openings, higher-end new builds |
| Wood-clad | Exterior cladding protects the wood, but any breach in the cladding or sealant lets moisture reach bare wood | Higher — sealant lines and cladding need periodic inspection | Homeowners prioritizing interior wood aesthetics |
| Aluminum | Prone to corrosion and condensation in this climate unless thermally broken | Moderate to high | Rarely our first recommendation for this area |
On the glass side, most York new construction benefits from a low-E coating tuned for the Pacific Northwest (balancing solar gain against our overcast winters) and argon-filled dual or triple glazing. Given the region's persistent damp, we also pay close attention to the window's condensation resistance rating — a window that fogs or sweats on cold, wet mornings is usually a sign the glazing package wasn't matched to the climate.
Salt Air, Driving Rain, and Bellingham's Moss Season
Three regional factors shape how we detail every new-construction window in this area:
- Salt air: hardware, fasteners, and flashing metal near the bay corrode faster than they would inland. We use stainless or coated fasteners and corrosion-resistant flashing metal on exposed elevations.
- Driving rain: wind-driven storms push water sideways into wall assemblies, not just straight down. That's why the shingle-lap flashing sequence above isn't optional — a window that only sheds water falling straight down will leak in a real Whatcom County storm.
- Long moss and algae season: Bellingham's damp, shaded stretches let moss and mildew take hold on north- and west-facing walls and sills. Sill design (slope, drip edges) and material choice both affect how much a homeowner has to scrub off a windowsill each spring.
None of this is exotic — it's just what a marine climate does to a building envelope over years, and it's why the installation details matter more here than they would in a drier region.
How Our Process Works
1. Site Visit and Rough-Opening Review
Before ordering anything, we look at the actual framed openings — size, squareness, sheathing condition, and how the wall assembly (sheathing, WRB, siding type) is being built. New-construction window sizing has to match the rough opening exactly; there's little room for field adjustment compared to a retrofit.
2. Product Selection
We walk through frame material, glazing package, and hardware options against the wall's exposure — a window on an exposed west wall facing prevailing weather gets a different recommendation than one tucked under deep eaves.
3. Coordinated Installation
New-construction windows go in at a specific point in the build sequence — after sheathing and WRB prep, before siding closes the wall up. We coordinate with your builder or general contractor so the flashing sequence lines up correctly with the rest of the water-management plan for the house, rather than being installed in isolation.
4. Inspection Before Close-In
Every flashing lap and seal gets checked before siding covers it. This is the one point in the build where mistakes are cheap to fix and easy to hide — we check it while it's still open.
Installation Checklist
Whether you're hiring us or another crew, here's what should happen on every new-construction window in a climate like this one:
- Sill pan flashing installed and sloped before the window ever goes in
- Window set plumb, level, square, and shimmed at manufacturer-specified points
- Fastening schedule follows the manufacturer's spec — not "however many nails fit"
- Jamb and head flashing lapped correctly with the WRB, shingle-style
- Low-expansion, window-rated foam or backer rod in the perimeter gap — never rigid high-expansion foam
- Separate, compatible sealant lines on interior and exterior faces
- Corrosion-resistant fasteners and flashing metal on exposed or bay-facing elevations
- Visual inspection of every flashing lap before siding closes the wall
What Drives the Cost
New-construction window pricing varies by project, but the main factors are consistent from house to house:
| Factor | Why It Matters |
|---|---|
| Number and size of openings | More glass and larger units mean more material and labor time |
| Frame material | Vinyl is typically the most budget-friendly; fiberglass and wood-clad cost more upfront |
| Glazing package | Upgraded low-E coatings, triple glazing, or specialty glass add cost but improve comfort and efficiency |
| Wall exposure | Highly exposed elevations may warrant upgraded flashing metal and fasteners |
| Building access | Multi-story walls or tight lot access affect scaffolding and staging time |
We give straightforward, itemized pricing so you can see what you're paying for — there's no reason a homeowner should have to guess at where the cost is going.
Why a Crew That Already Works in York Matters
A window installer who's only worked inland doesn't necessarily think about salt-air fastener corrosion or how a north-facing sill in a shaded York yard will hold moss by year two. Working regularly in this part of Bellingham means we're already factoring in the wind-driven rain patterns off the bay, the county's inspection expectations for new-construction wall assemblies, and the maintenance realities homeowners here actually deal with — not generic advice imported from a drier climate.
If you're planning new-construction windows for a build or addition in York, we're glad to take a look at your plans or framed openings and walk you through the options in plain terms. Reach out for a free, no-pressure estimate using the form below.